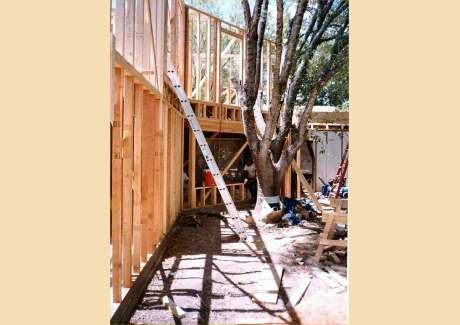
The WallsExterior Side
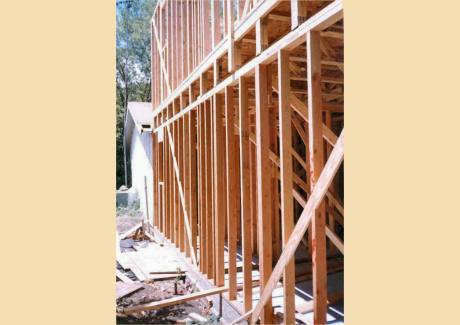
First and second story behind existing house. The wood that runs diagonally on the outside is called let-in or wind bracing. Without this the house would sway in the wind and eventually fall down. There are also other ways to accomplish this
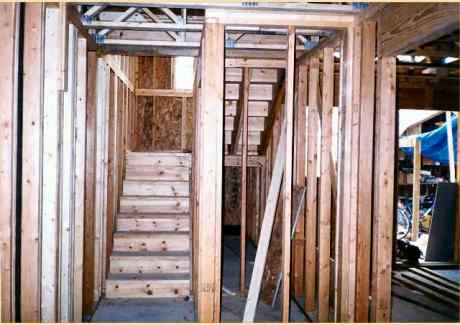
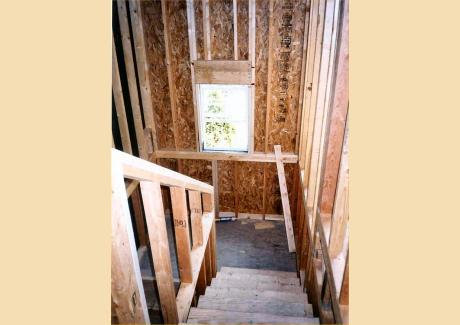
Stairwell from Outside
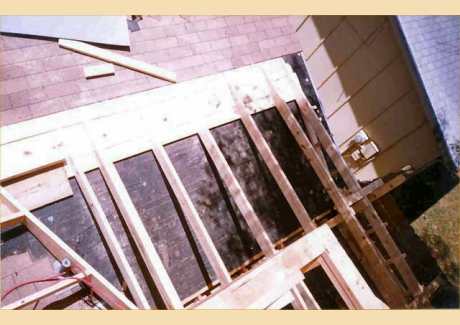
The stairs go inside here later. The diagonal braces shown arenot permanent wind bracing but temporary braces(except for one up top right). The walls are too short lengthwise for let-in or other types of diagonal bracing. So we will put on full sheets of plywood under the siding to brace
StairwellView from Bottom Inside
StairwellView from Top Inside
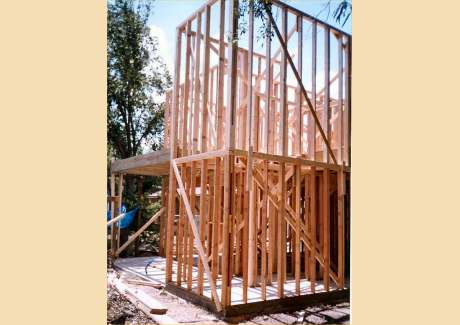
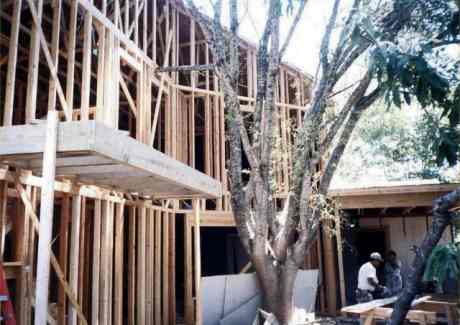
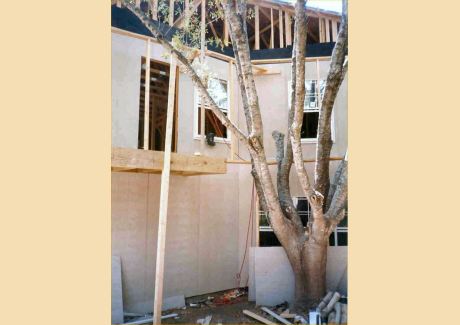
The WallsOther Exterior Side
Notice that this home has an exterior 45 degree angle wall. This complicates the construction of the roof raising cost. But the results weretruly beautiful back yard. Unfortunately there was not any angle that would allow photos to show it
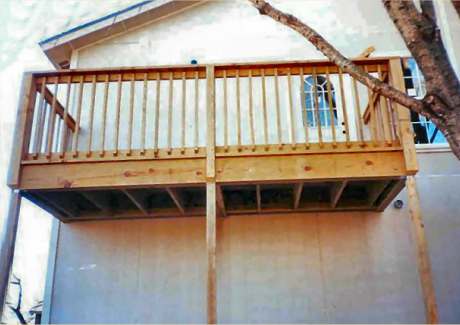
Side Deck

This deck is shared, the door exits fromcommon area. Note the two wind braces in the long wall. You can also (barely) see the plywood bracing on the top left outside.
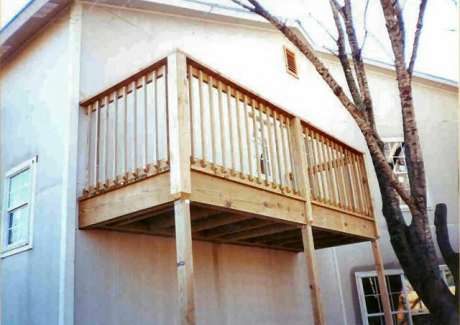
Side DeckAnother View
Back Walls and Deck

This shows the beams and joists of the back upstairs deck. There will bedoor and window upstairs anddoor and two windows downstairs. The master bedroom exits downstairs. Another bedroom exits to upstairs deck
Back DeckTop View
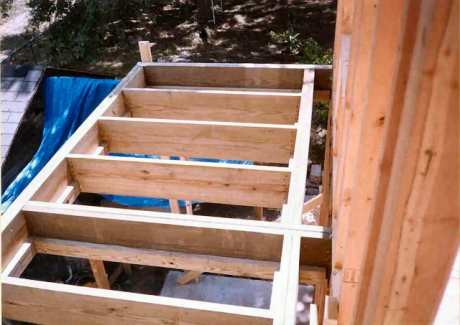
This deck will have the roof extend over it. The gap at the wall allows the siding to go up past the deck. This helps prevent water getting inThe planks will cover the gap later
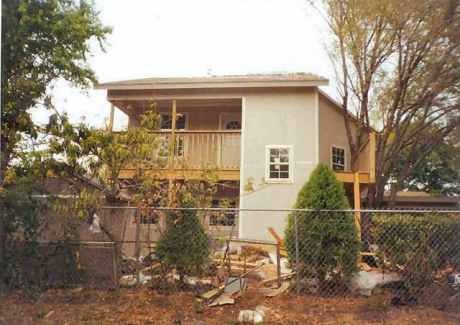
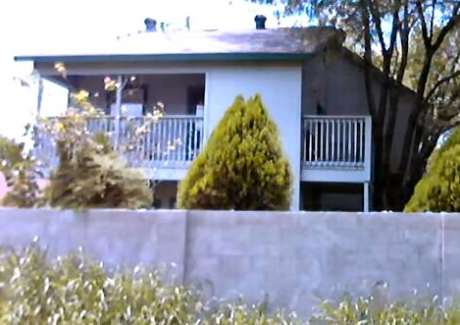
Front View from Street
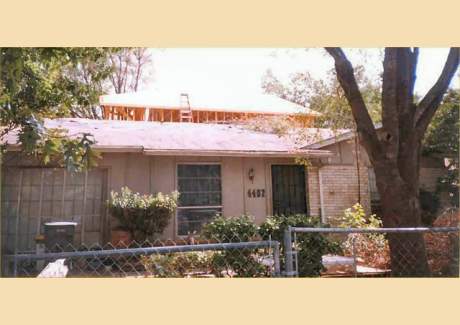
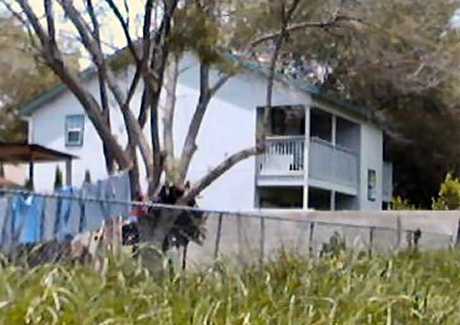
Pre-existing home is in front. This remodel left little to see from the street. But the view in the backyard is better than many homes front side.
View From Upstairs Toward Front
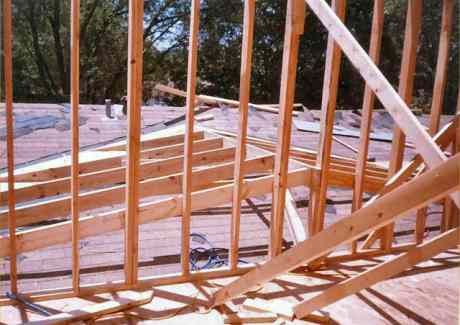
The existing roof slopes straight down into the vertical walls of the addition. The new section of roof had to be added to divert the water to the sides of the house.
Diverter RoofAnother View

Water will fall off to the right side. The section of old roof under the new one now gets covered over and forgotten.
Diverter RoofSide View
The vents will need to be moved up to the new roof
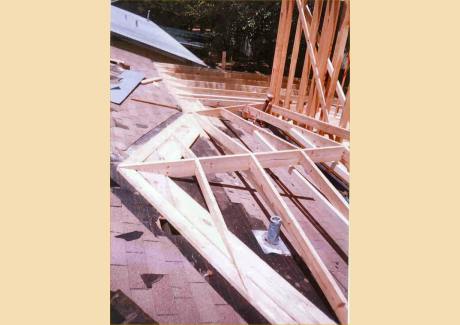
Diverter Roof Joins Patio Roof
Things are more complicated on this side. The diverter roof is to the left. This side joins with the new back patio roof on the right going down. The water will go around the corner here and continue down to the back. This view is from on top of the second story wall at the corner looking down
Diverter RoofAnother View

Top view leaning out of second floor
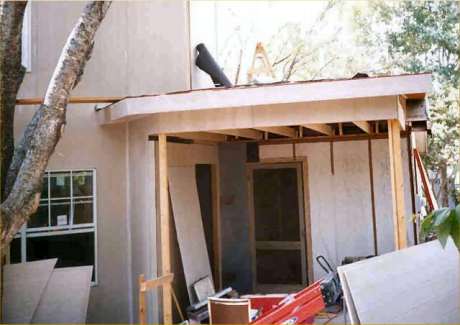
Patio Roof
Looking up at bottom of patio roof. The diverter roof is up around to the left.
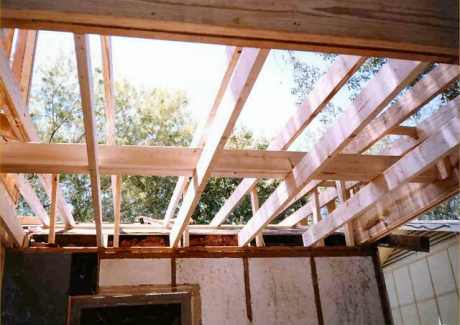
Back Patio
Back patio later on
Main Roof
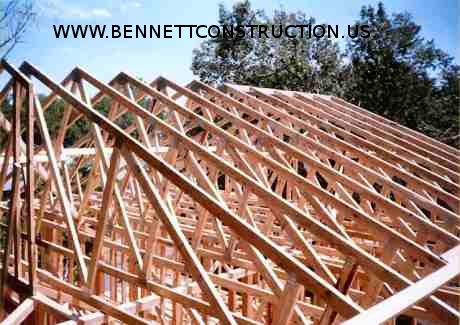
When we had to decide whether to buildcut roof (individual rafters, joists,. purlin, etc. cut and nailed one by one)Or to usetruss roof (constructed in pre-assembled units.). We discovered that the truss system worked really well with the 45 degree wall. This lowered costs and really sped things up
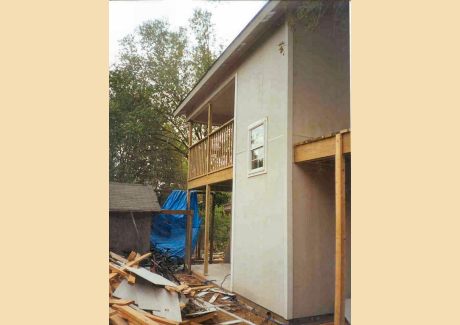
Siding Installed
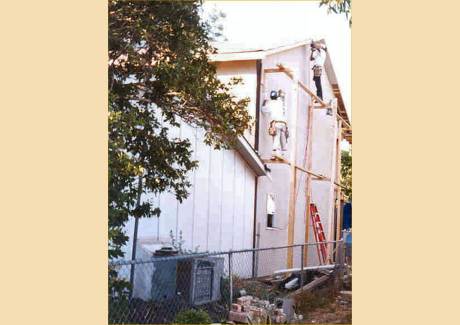
Siding, fascia and soffit being installed on side of house. Existing house is to the left.
Siding Being Installed
Siding InstalledAnother View
Rear Deck
Rear deck finished, side deck almost done
Wide View
Another Wide View
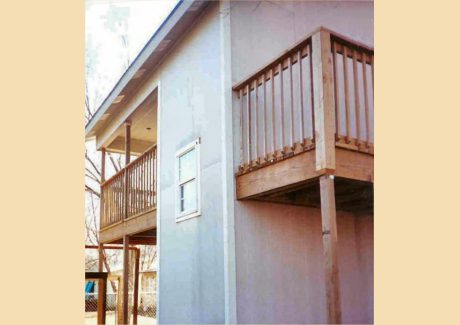
Finished Deck and Siding
Side deck finished. Siding Installed
Finished Deck and SidingAnother View
Side deck finished. Siding Installed
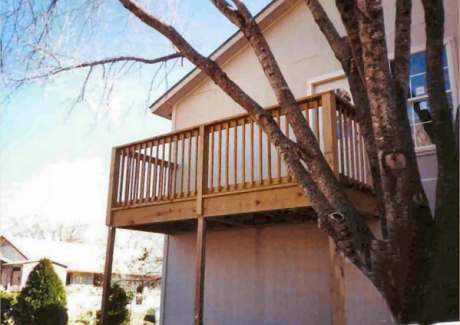
Side Deck
Both Decks Finished
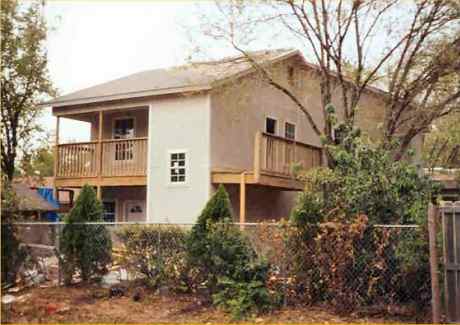
Finished and Painted
Finished and PaintedAnother View